A Little Thank You

IMG_3393.jpg
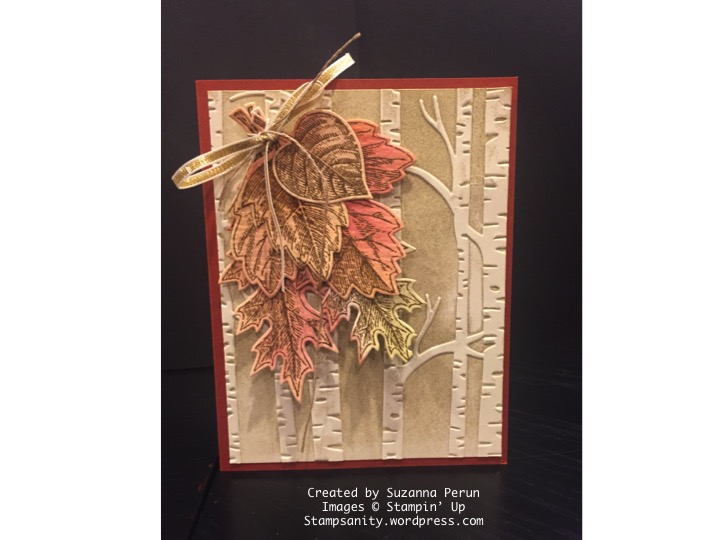
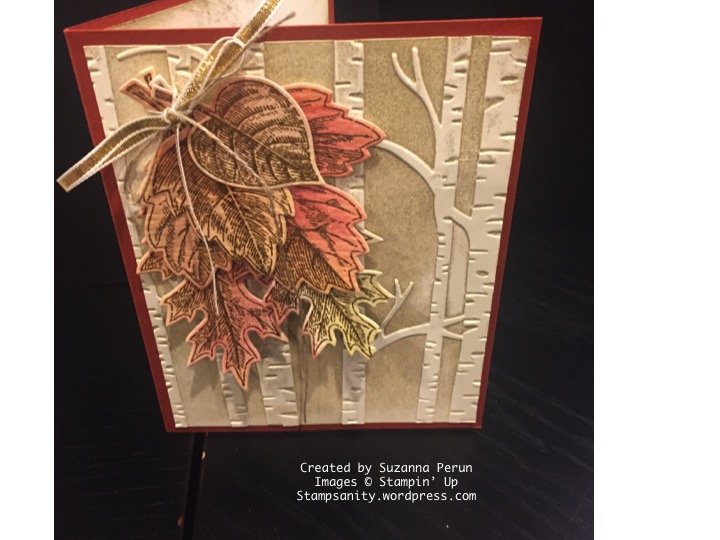
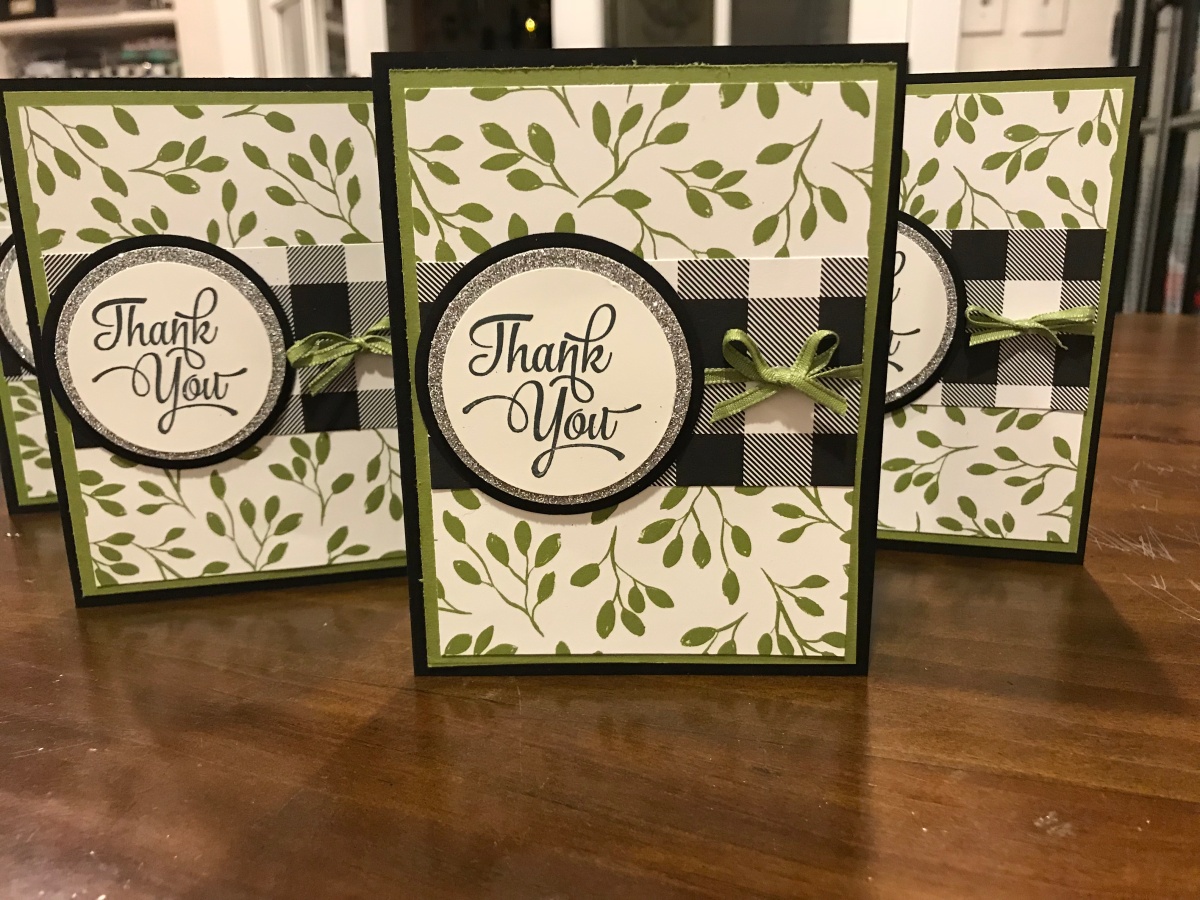
I’m back, after quite the hiatus. I need to get used to this blog world.  I have a December birthday, so I needed to make a few quick thank you notes to send out before the Christmas rush hits me head on.  These little babies came together rather quickly using the paper suite, Merry Little Christmas DSP.


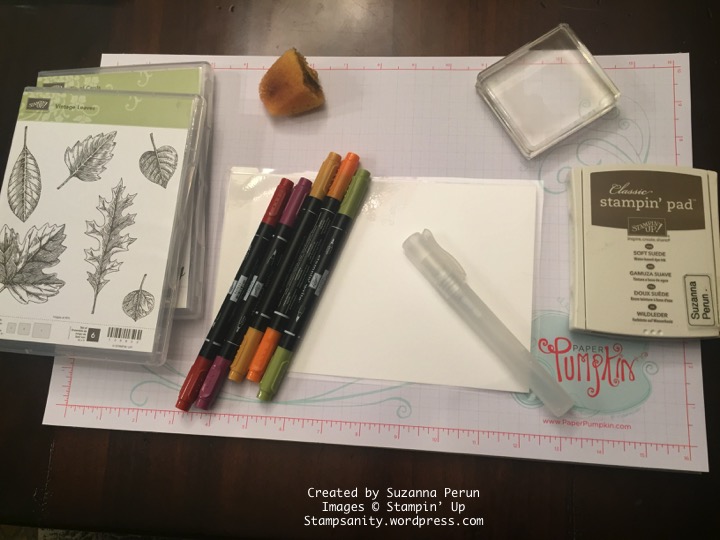
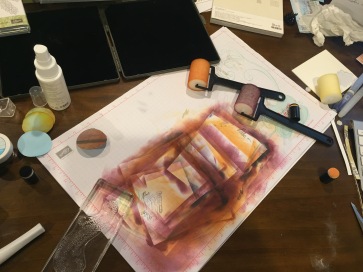
Here are my supplies: (Notice the reading glasses, I am on the other side of 45 now!)IMG_3387.jpg

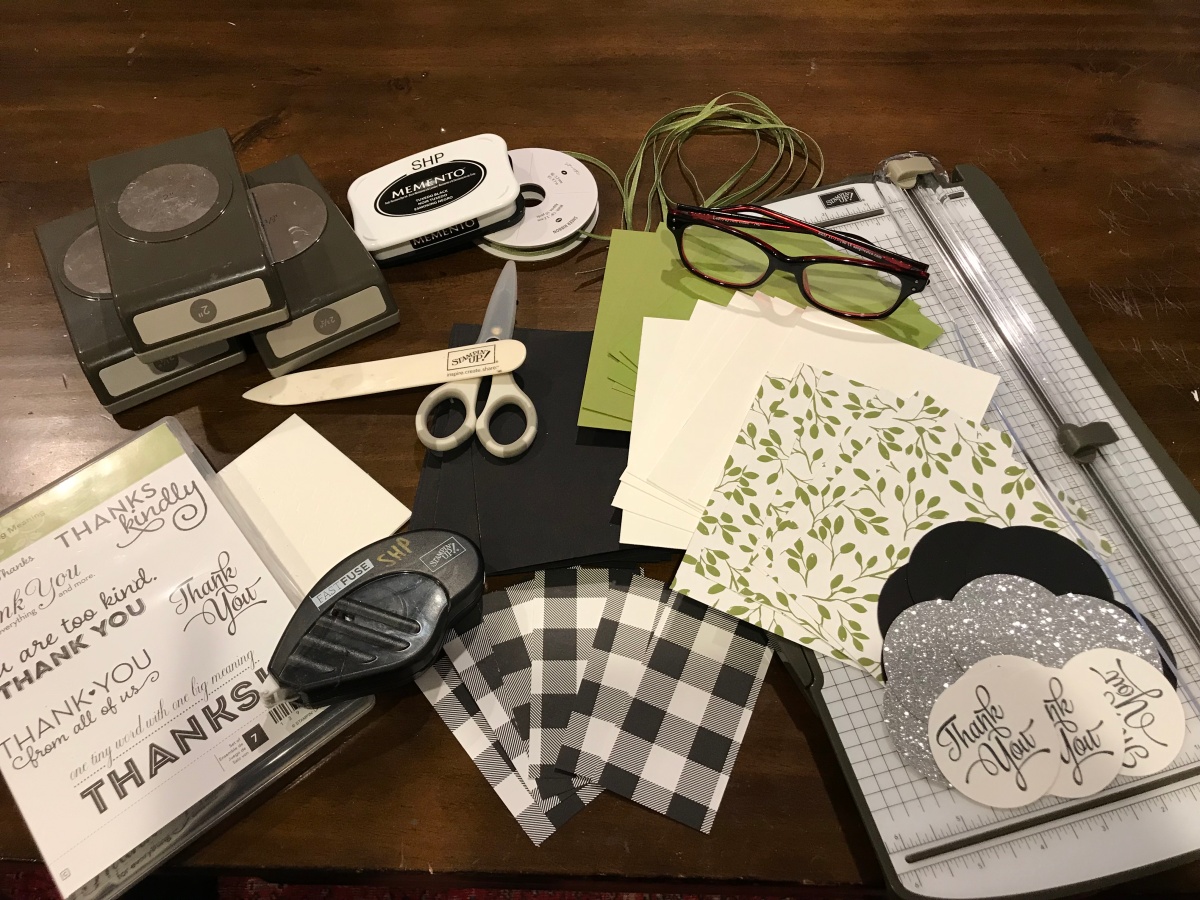
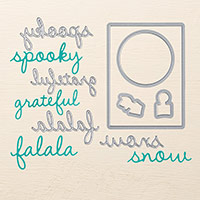
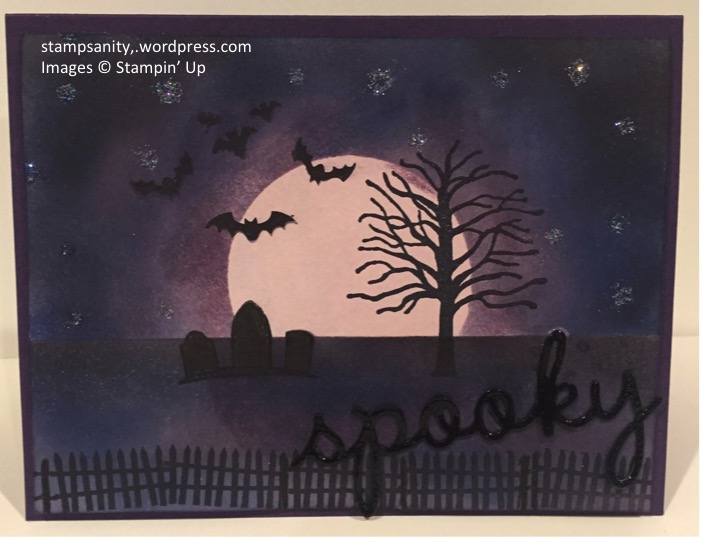
I love to use punches, as they are quick and easy, so I stamped the whisper white with the sentiment from One Big Meaning, then punched it with the 2″ circle punch.  I adhered that to a 2 1/4″ circle of silver glimmer paper using fast fuse. That is the best way to get paper to stick to the glitter. I popped that combo up with dimensionals onto a 2 1/2″ black circle.

I adhered a 4″x 5 1/4″ old olive rectangle to the black card base. I then adhered a 2″x 3 3/4″ strip of buffalo check to a 3 3/4″ x 5″ sheet of leaf DSP. IMG_3389.jpg


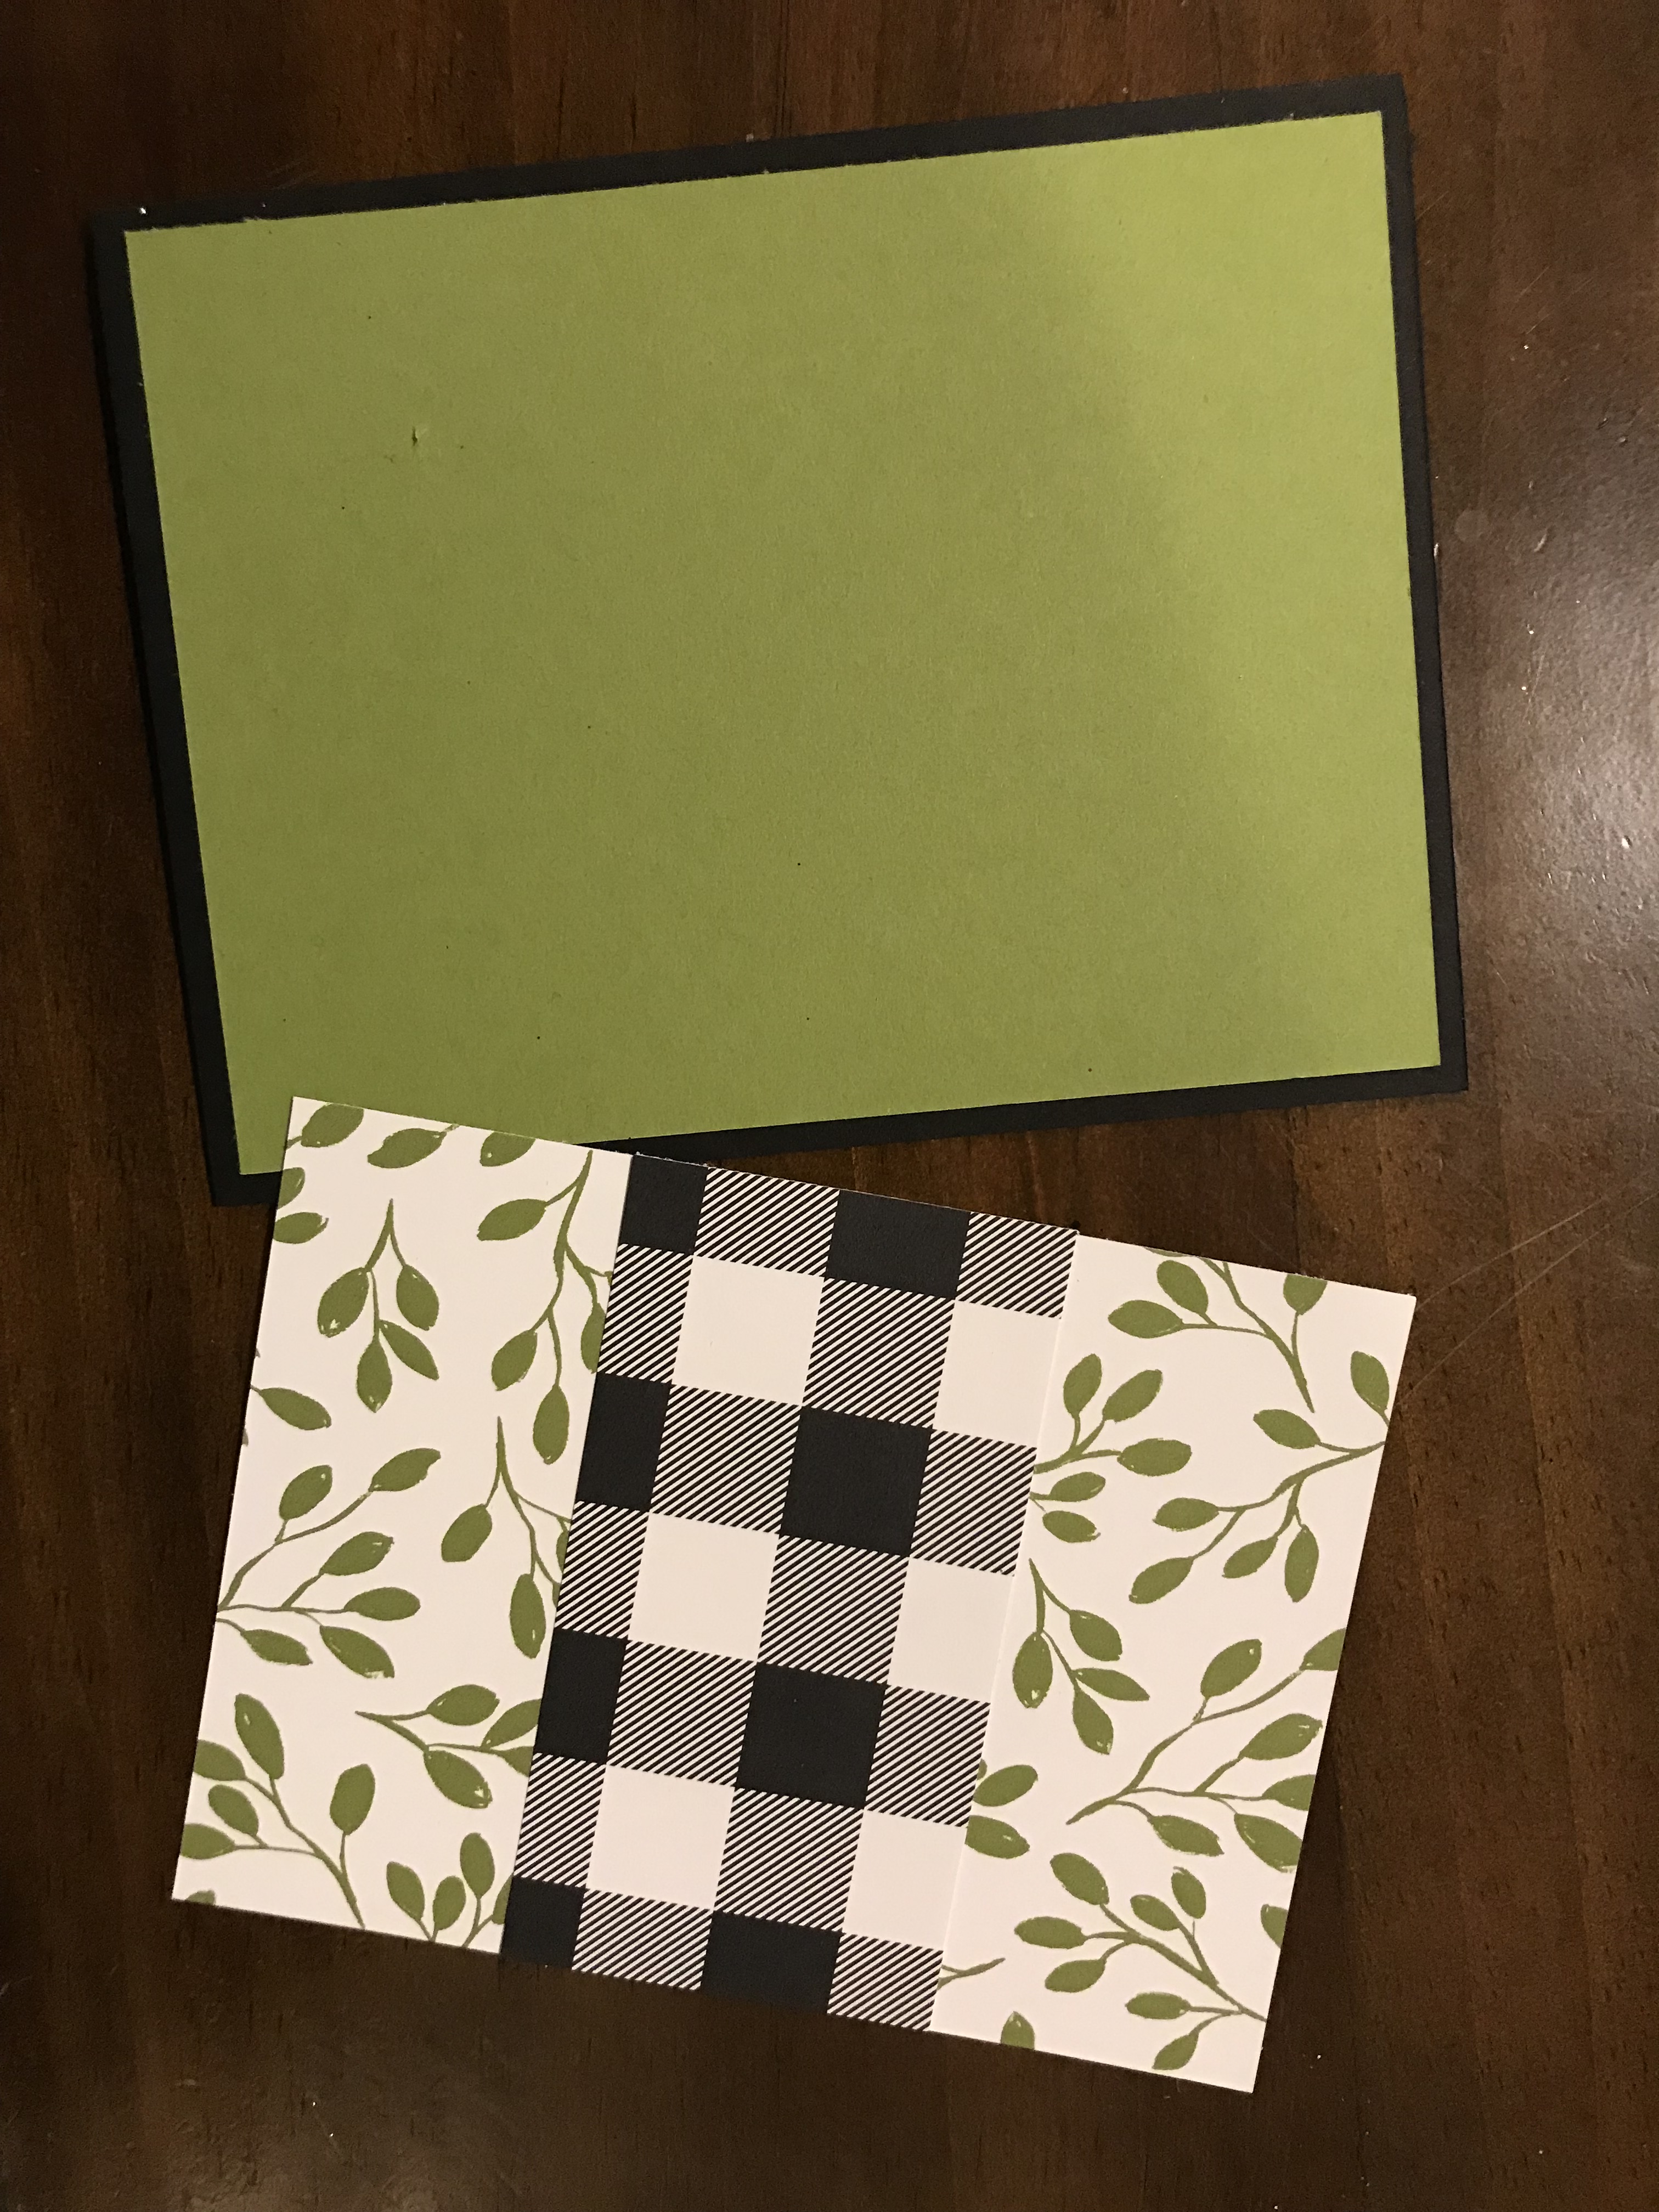
I put adhesive on the back of the DSP sheet, laid down my ribbon, then adhered that to the card base stack.

IMG_3388.jpg

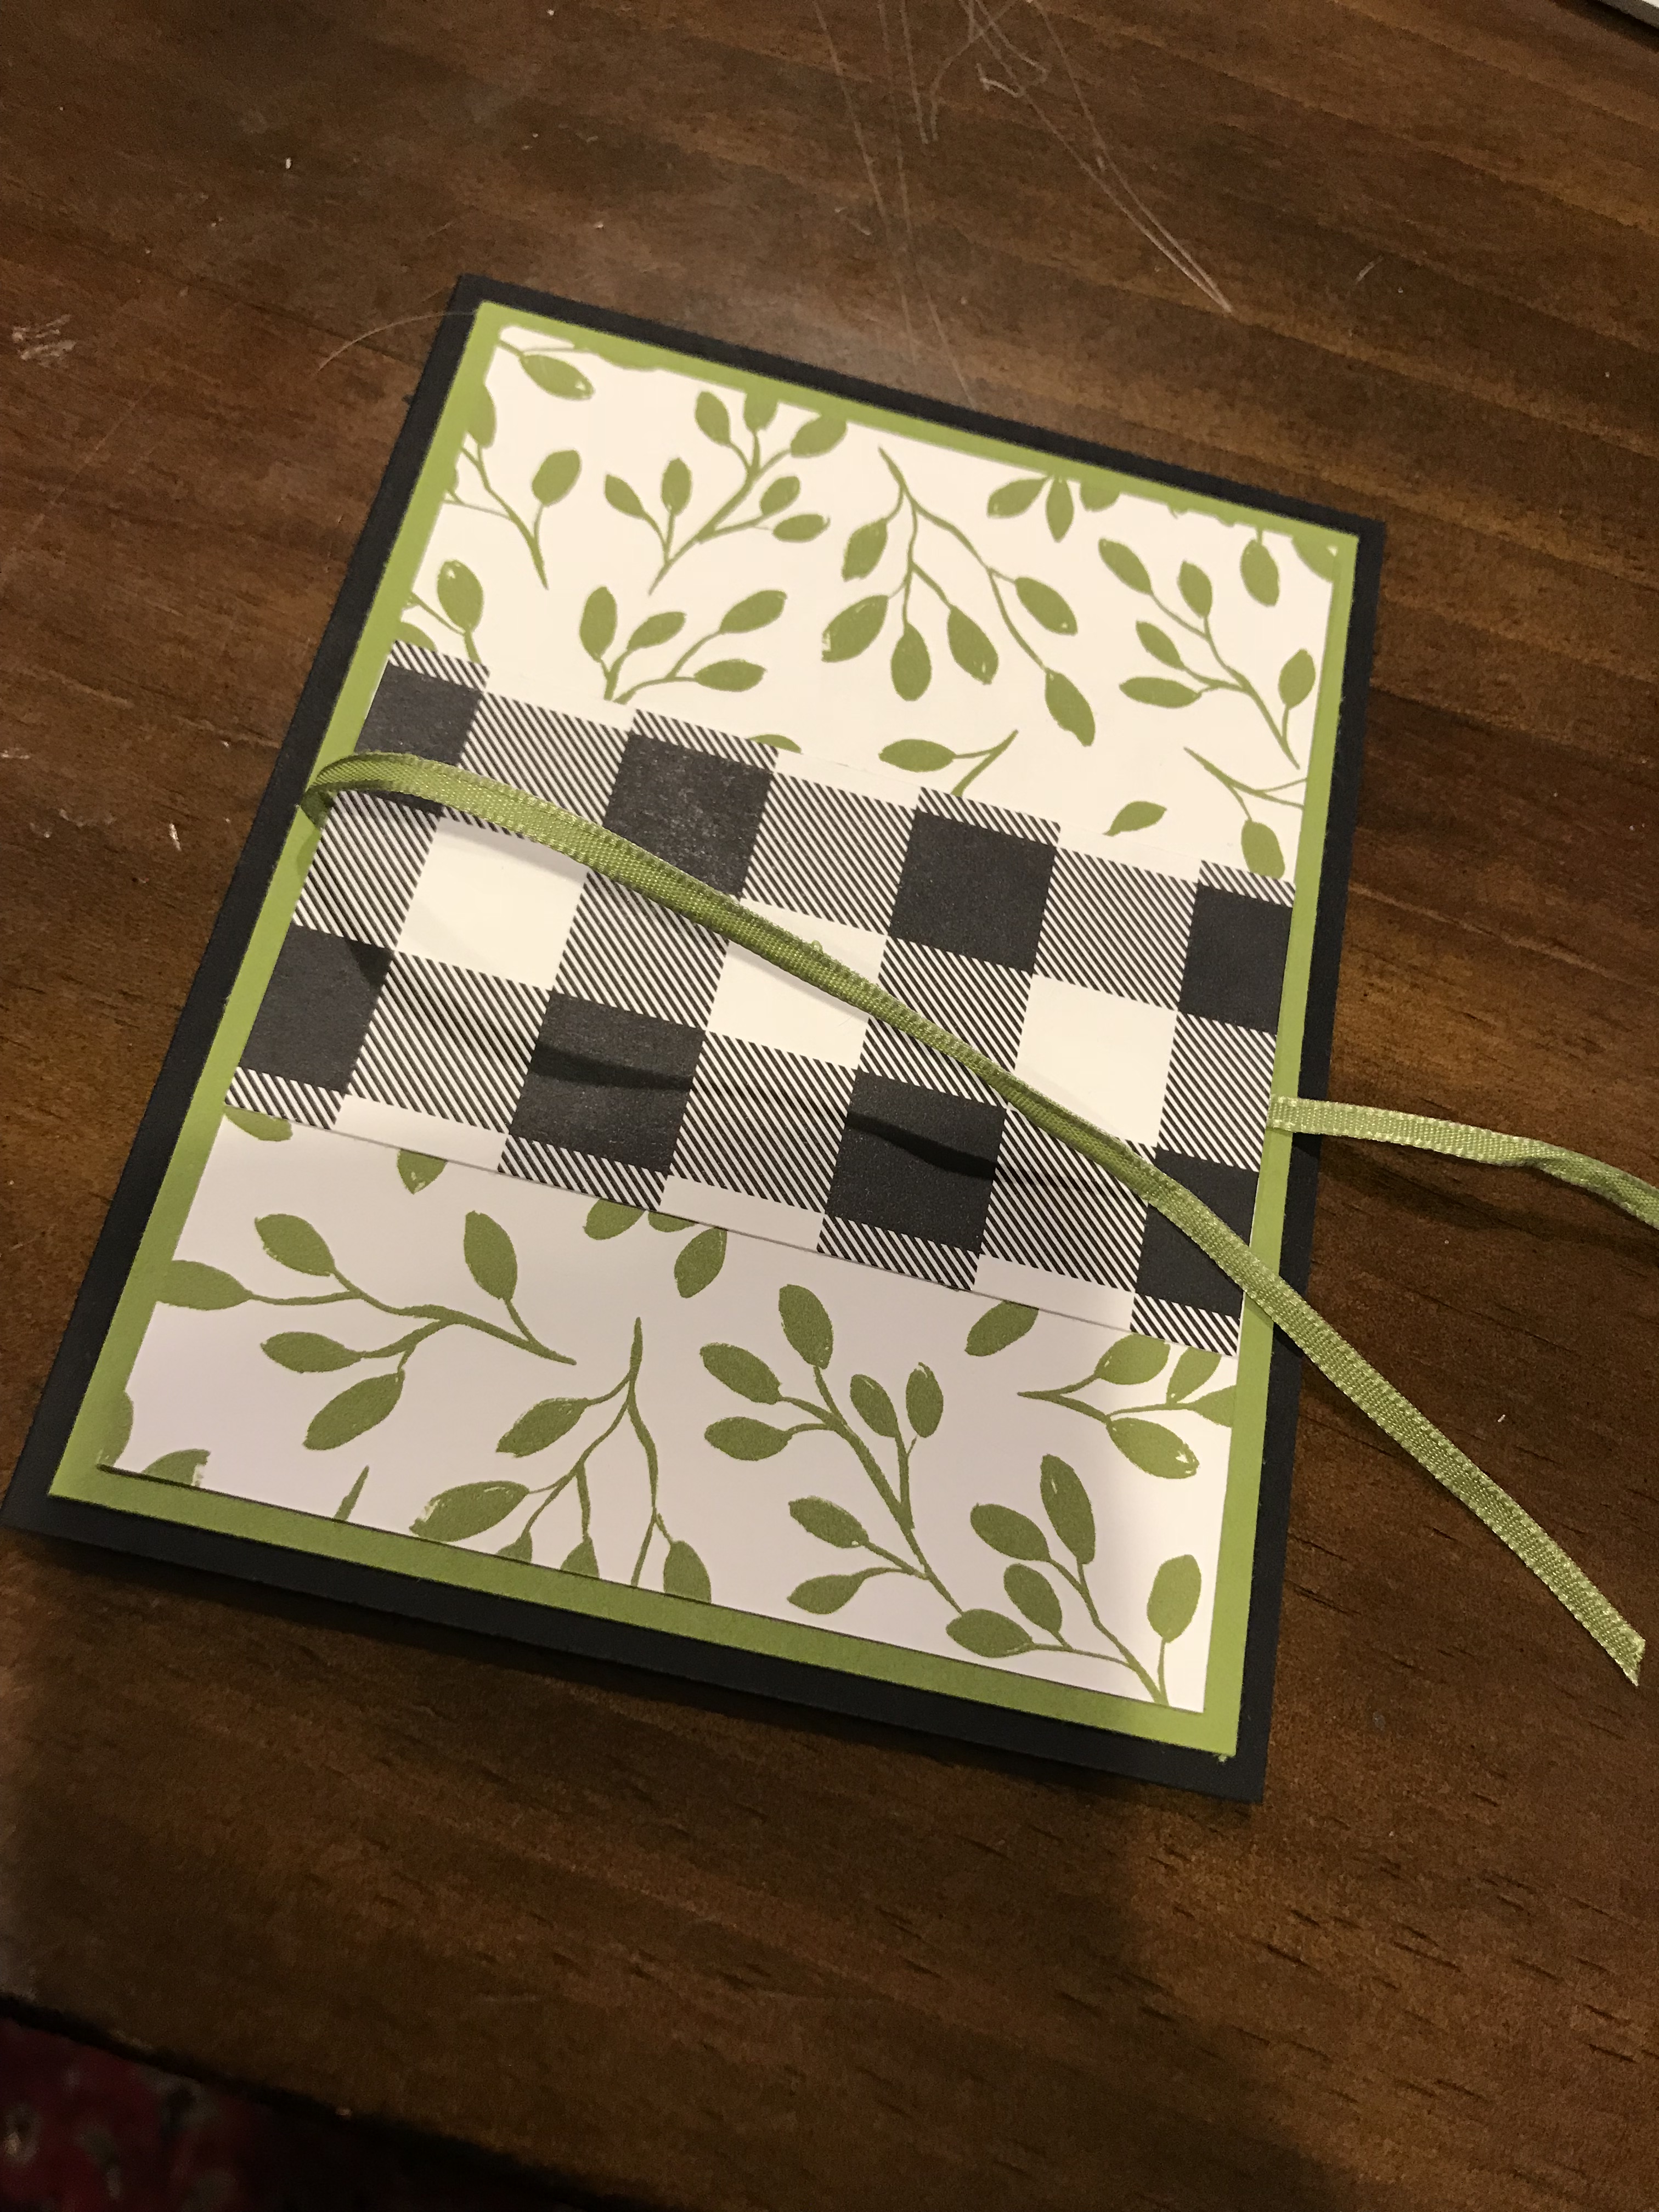
This gives me a way to tie my bow. I also slip a glue dot under the bow as I tie the first loop, which basically holds down the knot for me and helps the bow come together.

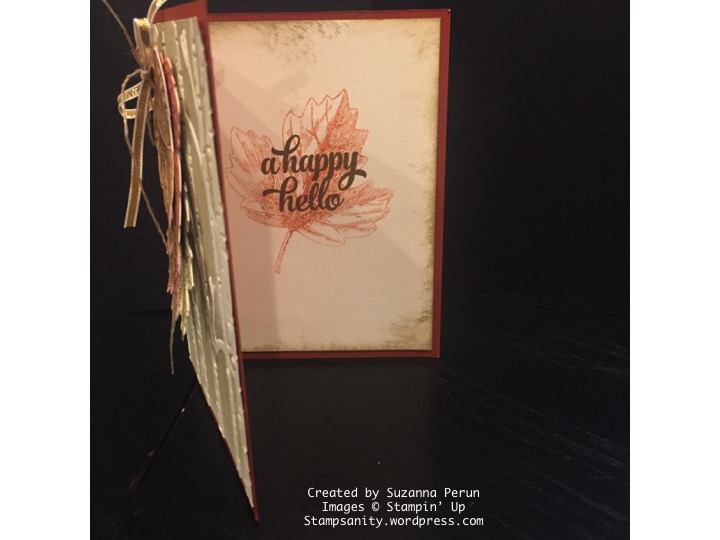
Then I adhere my circle on top, and put a piece of 4″x 5 1/4″ whisper white on the interior of the card. Viola’!IMG_3395.jpg
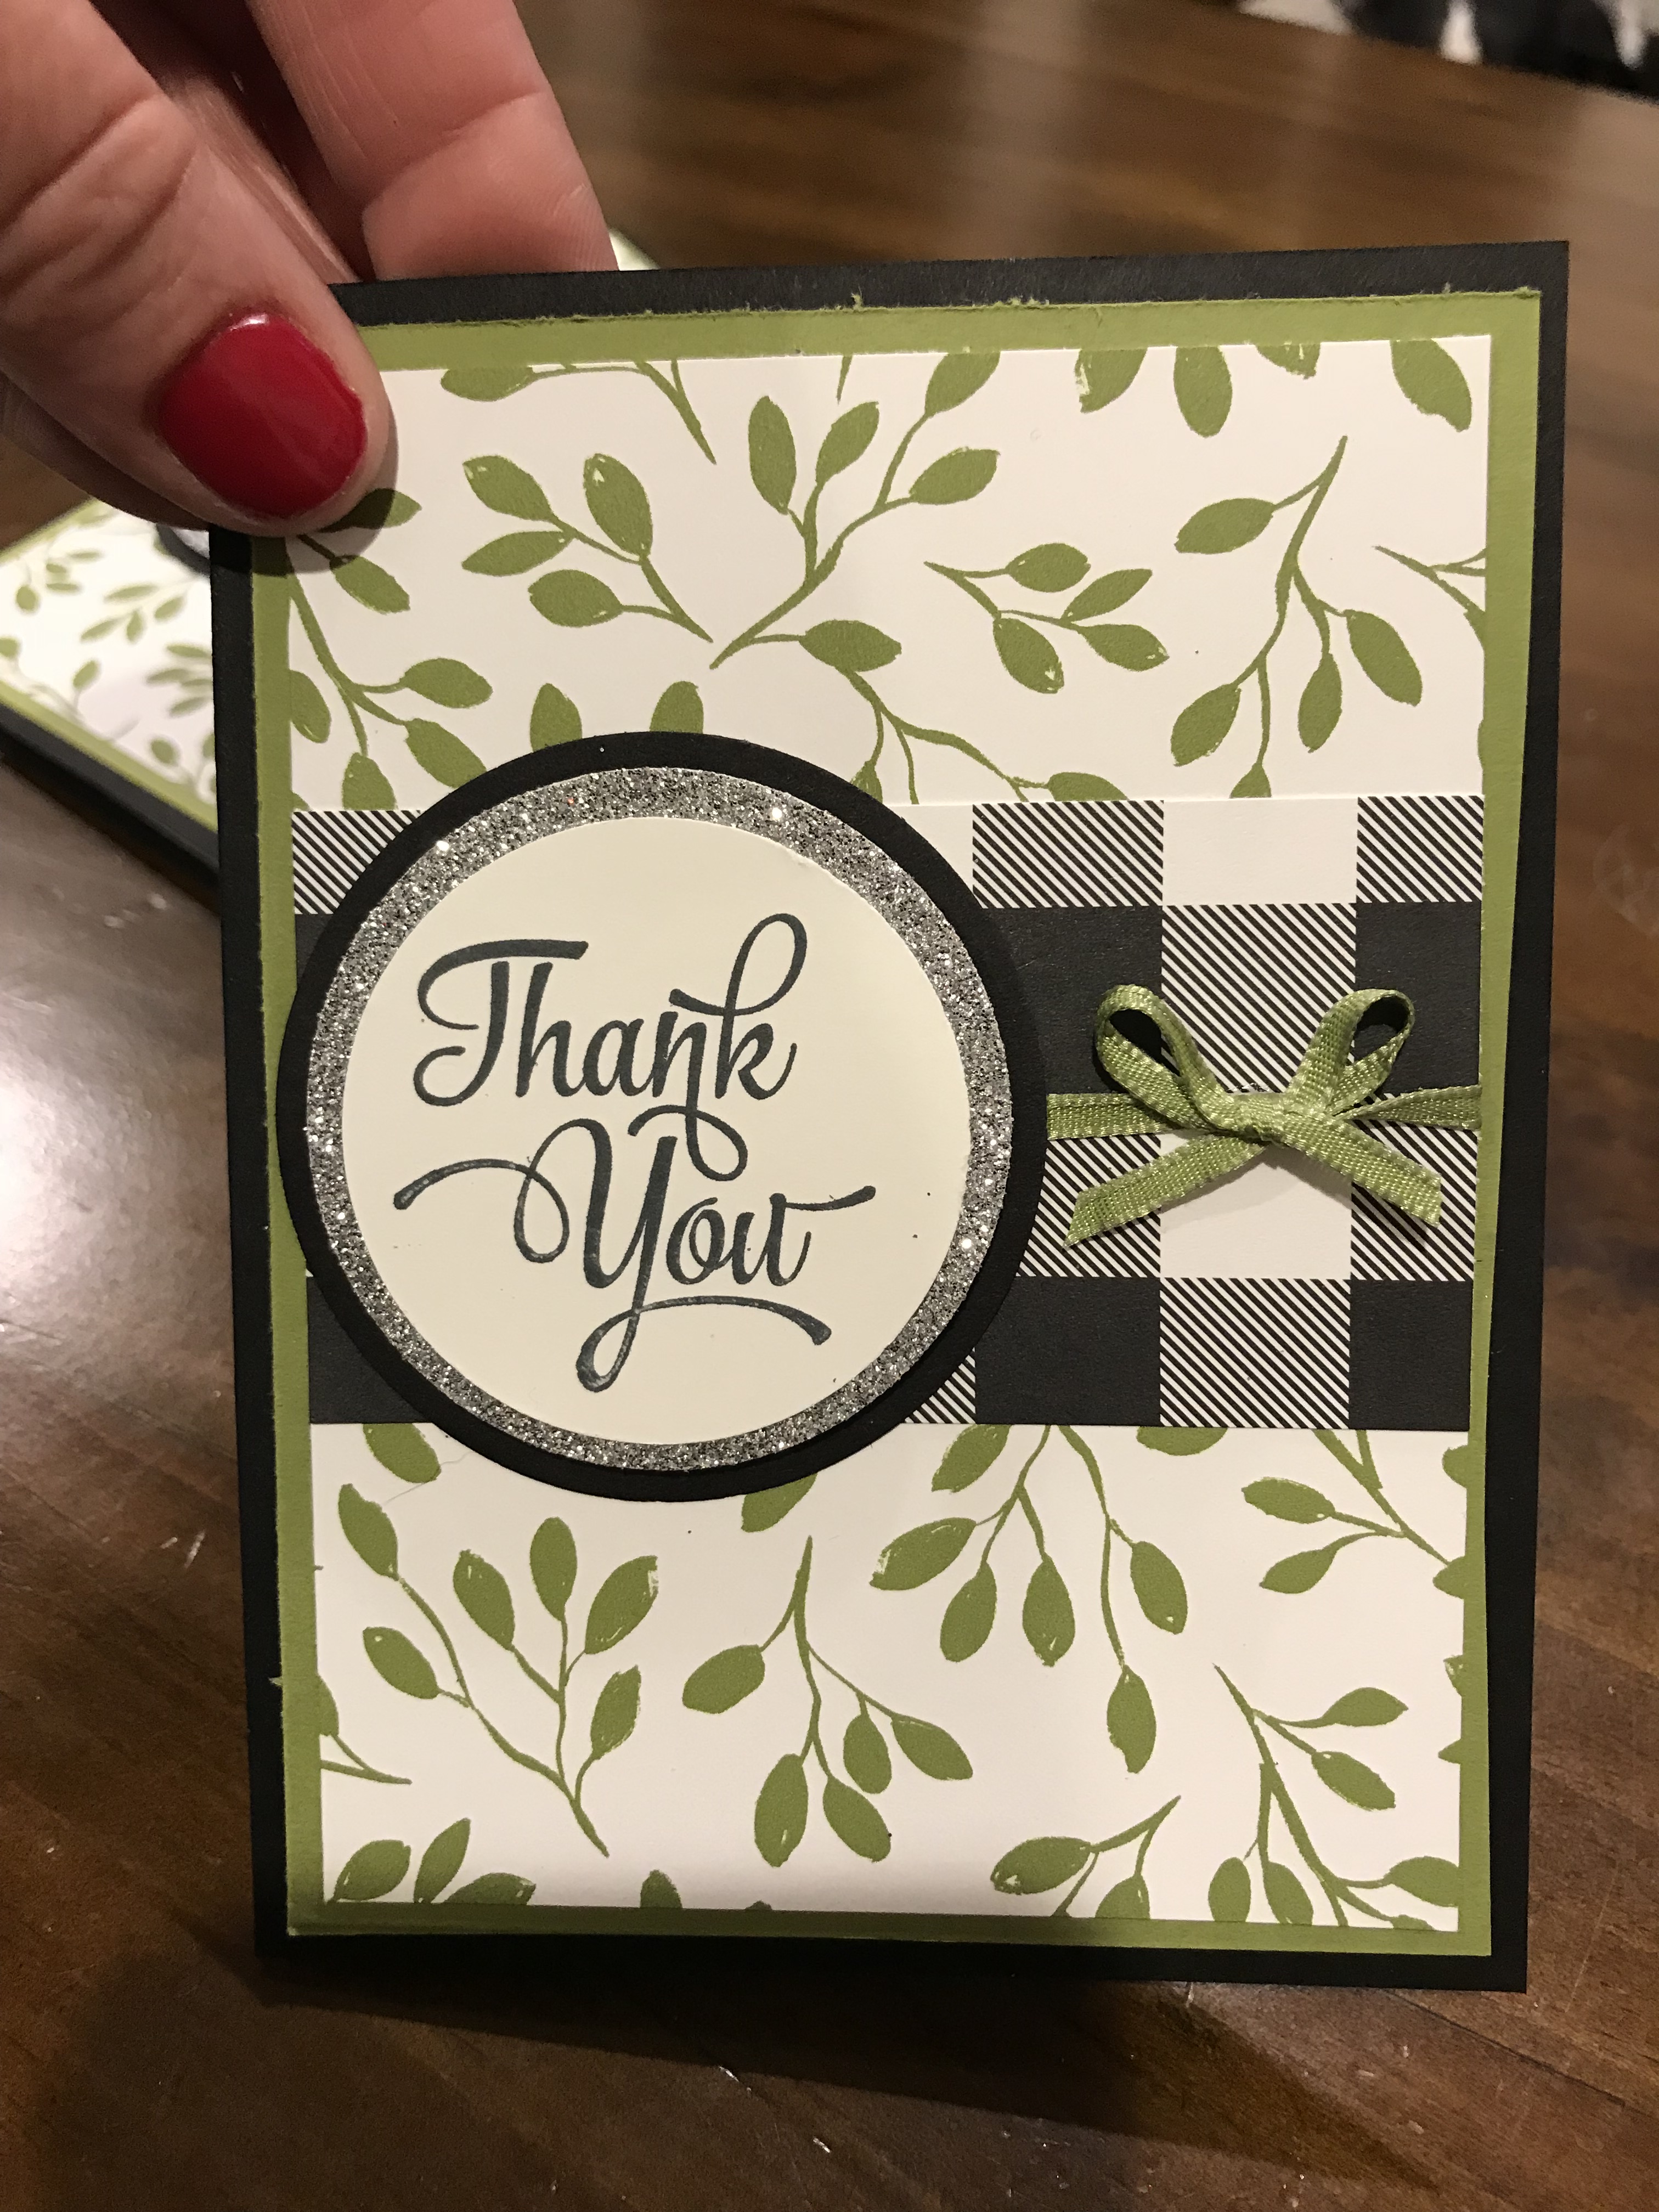
as always, if you need any supplies, I would love to be your demonstrator. Pop on over to my shop or contact me for help. Have a great day!

How to Smoosh a Leaf

As you may recall, yesterday was my fall leaf card, and here are the promised instructions.

slide1


I’ll start out with the supplies:

Stampin’ Write Markers in Cajun Craze, Pumpkin Pie, Rich Razzleberry, Delightful Dijon, and Old Olive.

Stampin’ Mister filled with water

Vintage Leaves Stamp Set

Soft Suede Stampin’ Pad

Clear blocks

Sponge

Tin of Cards Stamp Set

Cajun Craze Card stock

Vanilla cardstock

Watercolor paper

Woodland textured embossing folder

Sponge Brayer

Linen thread

Gold 1/8″ Ribbon

A laminated sheet of paper, or a piece of thicker acetate

slide1

Here are the supplies, all ready to go.

First, you will color on your laminated sheet. Be sure and use the brush tip and really get some good pigment on the page.

slide1

Now, liberally spritz your card with water.slide1

Now for the fun part, take your watercolor paper, measuring roughly 5 1/2″ x 4 1/4″, and lay it face down on the wet, inked surface. DO NOT MOVE THE PAPER AROUND. Moving it around will result in a muddy, brownish color. Let it lay where you first placed it.  Then, press down on the paper to let it absorb the ink. Wipe off the excess color from the edges.slide1

Gently flip it over and check out your masterpiece of color.

slide1

I wanted something a little bit more vibrant, so I added more marker color to the already wet and inky laminated sheet and I smooshed it again.  This came out to be the colors I had in mind.slide1

Let this dry completely!! I cheated and used my embossing heat tool. Once it is dry, you can stamp the leaves using soft suede directly onto your watercolor masterpiece.

slide1

Next, I cut them out with the coordinating leaf dies.  I stacked them up, securing them to each other using tombo glue and tied the entire bunch at the top with linen thread and gold ribbon.  Now I set the leaves aside.

For the background, I embossed a 5 1/4″x4″ piece of very vanilla using the woodlands folder.  Before I did that, I used the sponge roller to roll on crumb cake on the side that says sizzix on it.   This will color the background and put a bit of color on the tree bark.

I adhered this sheet to a card base of cajun craze and then I adhered the leaves onto the embossed sheet. I only adhered the top section of the leaves, as I wanted them to have a feeling of movement. It felt like it needed a little extra pizazz, so I covered all of the leaves in clear Wink of Stella.  That little bit of extra shine does a card a lot of good. slide1

For the interior, I placed a sheet of very vanilla (5 1/4″x4″) and lightly distressed the edges using the sponge with crumb cake color on it.  The leaf is in cajun craze stamped off twice. The cute little sentiment came from the Tin of Cards set.slide1

Happy Fall, Y’all!

Enjoy and happy stamping!


Falling for Fall

I LOVE the fall.  As a recent transplant from a semi-tropical climate, I am extremely excited for the changing of the seasons that happens in Colorado.  August is truly lovely here since the nights get cooler and the days feel a bit shorter.  The sun no longer beats down on us and scorches the grass, so my yard has never looked better. And did I mention, I have an apple tree!  It has grown beautiful apples that taste good right off of the branch.  I do feel lucky to live here! (Please remind me I said that in November when I have to shovel snow and the people in Houston are rolling into their temperate time!)

But I digress!  I was inspired by the changing leaves and decided to make a watercolor smoosh card.  I really enjoy a fun, not too messy, method that has big returns on the wow factor.

So here it is: slide1

Tada!! I have to say, I love this card.  It really is impressive in person, as the leaves shine with clear wink of stella and the colors just work.slide1slide1


I can’t wait to send this one out to a friend. I just know she will love it when she gets it in the mail.

I’m getting ready for my first card class this weekend, so I need to skidaddle, but I’ll bring you the directions tomorrow.

Enjoy and happy stamping!


A Spooky Deal

The thinlits that I used on the Spooky card are available on the clearance rack now!! Great news! These sold for $27 last year and you can get them now, while supplies last, for $13.50. I love a great deal!

139658s

Click here to order Seasonal Frame Thinlits 

In fact, the clearance rack has been updated with some wonderful items for great prices.  Check it out soon, because, as always, it is as supplies last.

Click here to shop the Clearance Rack

Enjoy and happy stamping!

A Spooky Night

I am a huge Harry Potter fan, just so you know. After I made the magical witch card, I was reminded of the cover of the Harry Potter books.  Those books just look so magical.  I took inspiration from the Prisoner of Azkaban.

content.jpeg

Here is what I came up with today:

slide1

I am having so much fun with the masking and inking process.  The combination of colors I used for this card are: Smoky Slate, Pink Pirouette, Wisteria Wonder, Perfect Plum, Night of Navy and Basic Black.  The card base is Eggplant Envy.

Begin with a piece of white cut to 5 1/4″ x 4″.  Using the sponge roller, ink the entire piece with a light layer of Smoky Slate.  Next, ink the entire piece with Pink pirouette.  After you are done, use an aqua painter to lightly wet the surface and blend the two colors.  I then went over it with an ink dauber for good measure.  Make sure this piece is completely dry before you go on to the next step. I am not patient, so I used my handy, dandy heat tool to quicken the process.

I then cut a post-it with the 2″ circle punch and placed it in the center of the card.  I also covered my horizon line with a piece of card stock. I proceeded to ink the top, using ink daubers, in this order: Wisteria Wonder, perfect plum, night of navy and basic black.  I got darker towards the edge and corners of the paper.  I kept it lighter near the moon.

Next I removed the moon mask and switched the card stock cover to hide the previously inked section.  I was then ready to ink the ground. I started with the darkest color at the horizon line and faded down towards the bottom of the card. I didn’t use pink or slate on the bottom half.

I then used archival ink to stamp images from the Spooky Fun and Halloween Scares sets.  I didn’t worry about the fence lining up, I just used a marker to draw in extra pickets. I didn’t want it straight in my old cemetery.  I also filled in the tombstones so they became a silhouette in the moonlight.

The stars are created using stars from the Star of Light set with versa mark and heat and stick powder.  I then sprinkled dazzling diamonds glitter to make them shine.  I tell you, that stuff lasts forever!  I have had my jar since about 2006 and I think I just now need to order a new one, and I love it!  A little just goes a long way.

Lastly, I decided I needed a sentiment, and none of my Happy Halloween stamps were large enough.  I used the die from the last year’s set, Seasonal.  I embossed it with clear just to give it a little umph. I used dimensionsals to mount the finished artwork, and viola’, Spooky!

Play around with this technique.  It is fun and anything goes.  You can’t go wrong.

Enjoy and happy crafting!


A Magical Halloween

slide1

Halloween is right around the corner and this magical witch was just itching to fly. Here’s how she does it:

img_7243-4

It will be a bit messy, so remember to cover your work surface.


Start with a whisper white piece cut to 5 1/4″ x 4″.

Use daffodil delight on a sponge roller to ink the entire piece.

Cut a post it note in a circle with the 1 3/4″ punch.  Use it a mask as you use pumpkin pie to ink the sheet.  Keep it darker on the right and and near the edges.  Keep it lighter near the moon.  Next use blackberry bliss it continue to darken the edges.  Lastly, use basic black in the far right and edges with a sponge dauber to give the card a dark, inky, night feeling.

Remove the post it and ink the witch silhouette, from the Spooky Fun set, with archival black. The archival black gives her a nice deep, black color.

Now, use your embossing buddy over the entire piece so you can emboss.  Ink the swoosh, from the Star of Light set, in Versamark.  Emboss the swoosh with gold stampin’ emboss powder.  Add a little sparkle with the clear Wink of Stella.

Attach the finished piece to a black card.  Finish it off with the Happy Halloween stamp, from the Jar of Haunts set, with gold on the inside

.img_7246-3

Who wouldn’t want a little magic in their mailbox this October.

Enjoy and happy crafting!


A Fun New Set

I can’t attend convention this year, because we have a big family trip planned, so I decided to participate in some mail-in swaps. Here is my first swap entry. I love the new set, Sprinkles of Life. It is not only versatile, but $3 is donated to the Ronald McDonald House Charities for every set purchased. I love that! Here it is, a little bit of birthday fun.

IMG_3236IMG_3237

Welcome!

My family and I visiting the Badlands over Spring Break.  Yes, it is as rainy and cold as it looks but we loved it!
My family and I visiting the Badlands over Spring Break. Yes, it is as rainy and cold as it looks, but we loved it!

Don’t you love the feeling of being new? The idea that the slate is clean, you have a fresh start and all of the possibilities in the world are at your fingertips? I love it! I just know that we will be the dearest of friends and our wonderful creations will fill the internet with sunshine. I throw in some crafty goodies and a little bit about my fun family, too.  I know there are probably only one or two people reading this right now in this big internet cosmic void, but at least we are in this together. Thanks friends! So here we go, off into the great blue yonder together. WELCOME and HUGS!